Week 15
Monday
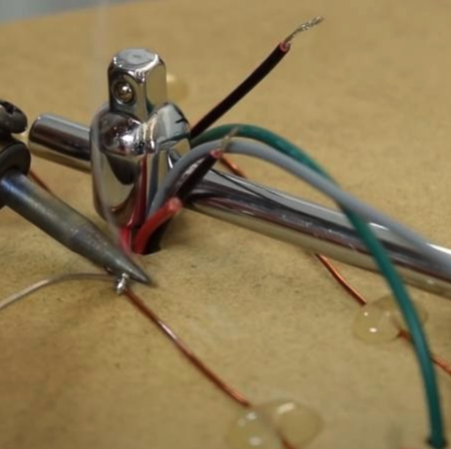
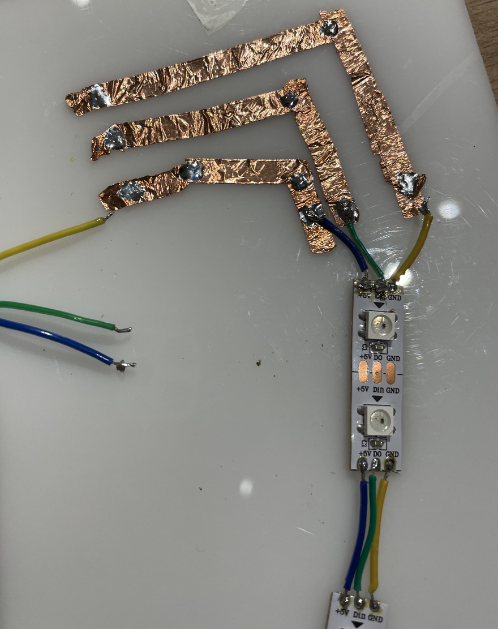
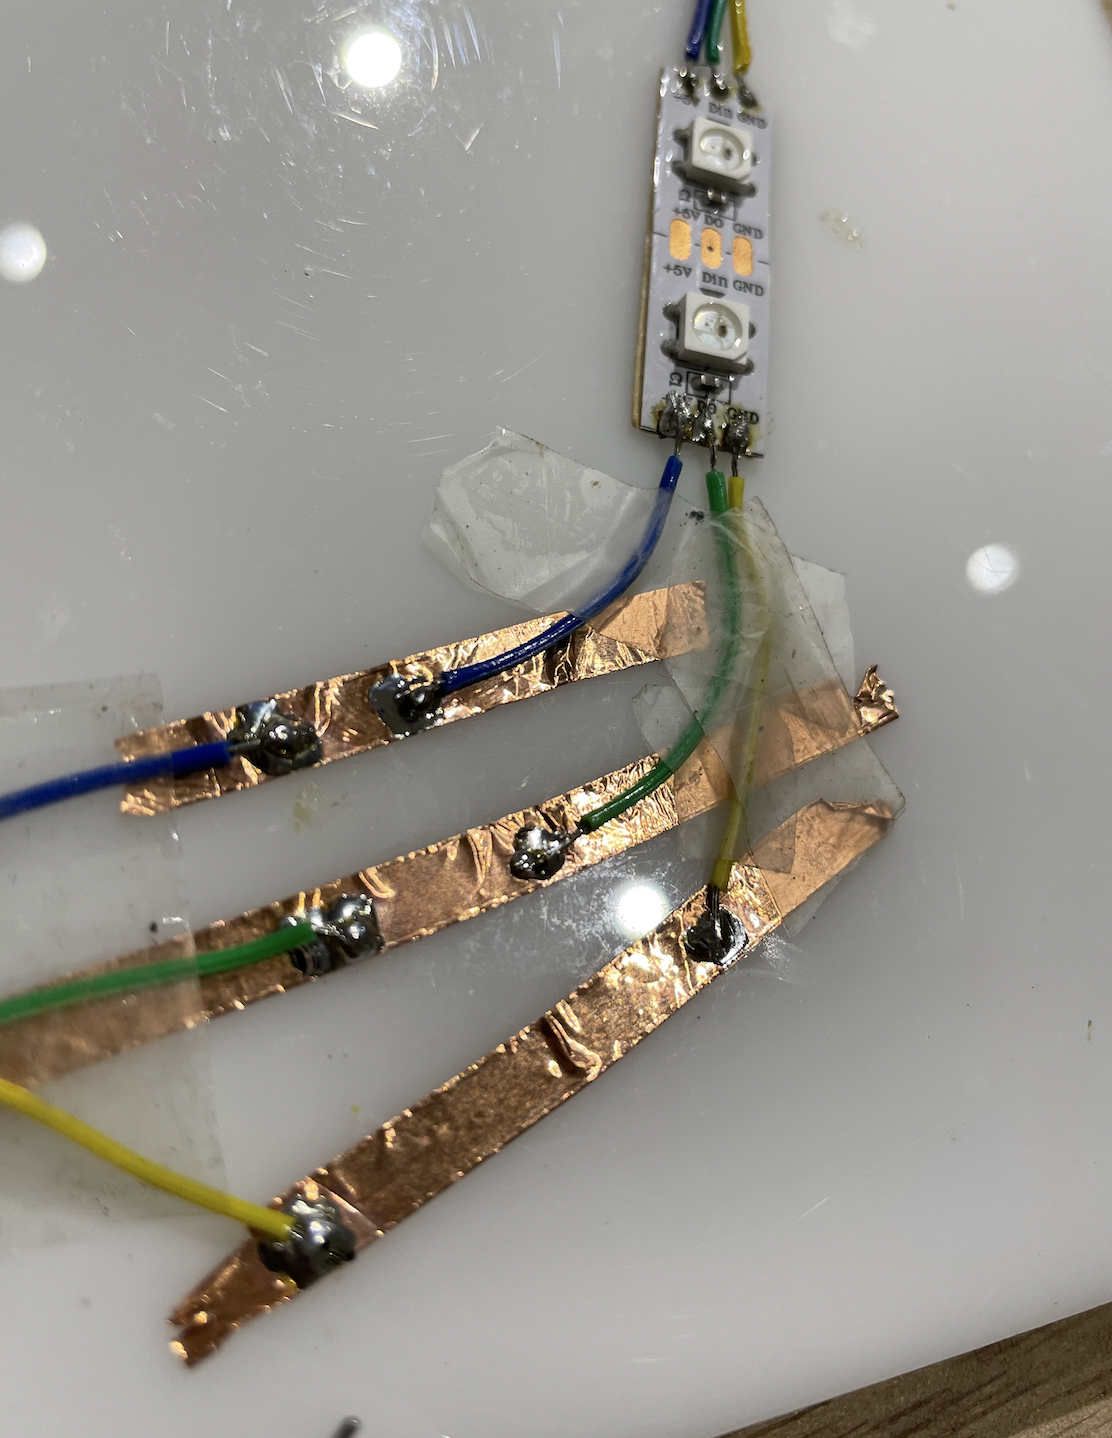
My LED strip wouldn’t light up even after soldering the wires to the copper tape. I persisted and kept checking each wire to see if they were connected properly. I even tried sanding down a copper wire but it did not work as well.

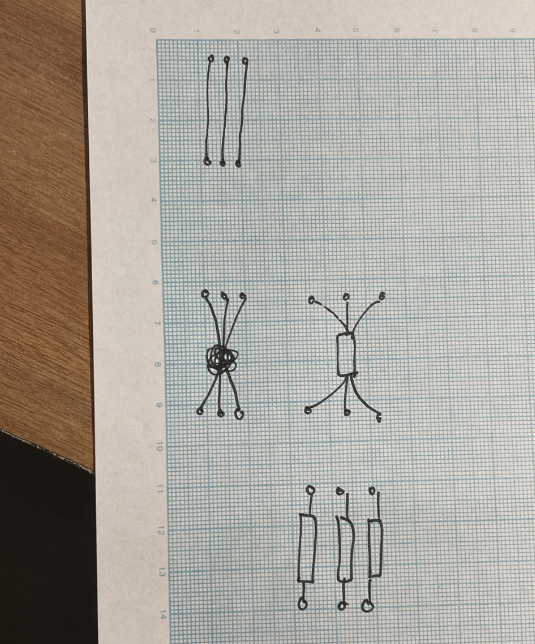
After that Aditi then, discovered that this issue could have been caused because all the different power points were travelling into the same stream through the copper tape and 3 individual wire points should be made instead. She demonstrated this to me in a diagram to help me understand the flow better. This made me more informed about important these 3 streams are for RGB LED strips especially.

After trying to separate the copper strips for each wire, it still refused to light up.. I was pretty confused at this point, questioning if the copper strip was really a useful conductor in completing the circuit’s flow. Nonetheless, I wondered is this time the issue could be my messily over layed strips of copper tape instead of just using one singular long strip, I had gathered many shorter strips together.